Jekyll on Netlify Source Link
I moved my hosting to Netlify after learning about their git-based workflow support (also because free!) This meant I could remove the custom git-hook-based setup I had implemented on my previous host: commit. I also took the time to remove the bash-script post-processing I was doing (e.g. gzipping files). I used Netlify services to replace much of the asset optimization and post-processing since they offered asset concatenation, minification, and finger-printing. I also added in jekyll-assets to provide some tools within jekyll to handle assets. For example, adding image dimensions to the generated html, something I was able to contribute to jekyll-assets: pull request.
Some performance optimizations remained manual however. Such as svg/png/jpeg optimization including making jpegs progressive and generating responsive image sizes. I learned a lot from working on those image optimizations using tools such as optipng, svgo, jpegtran, and of course imagemagick.
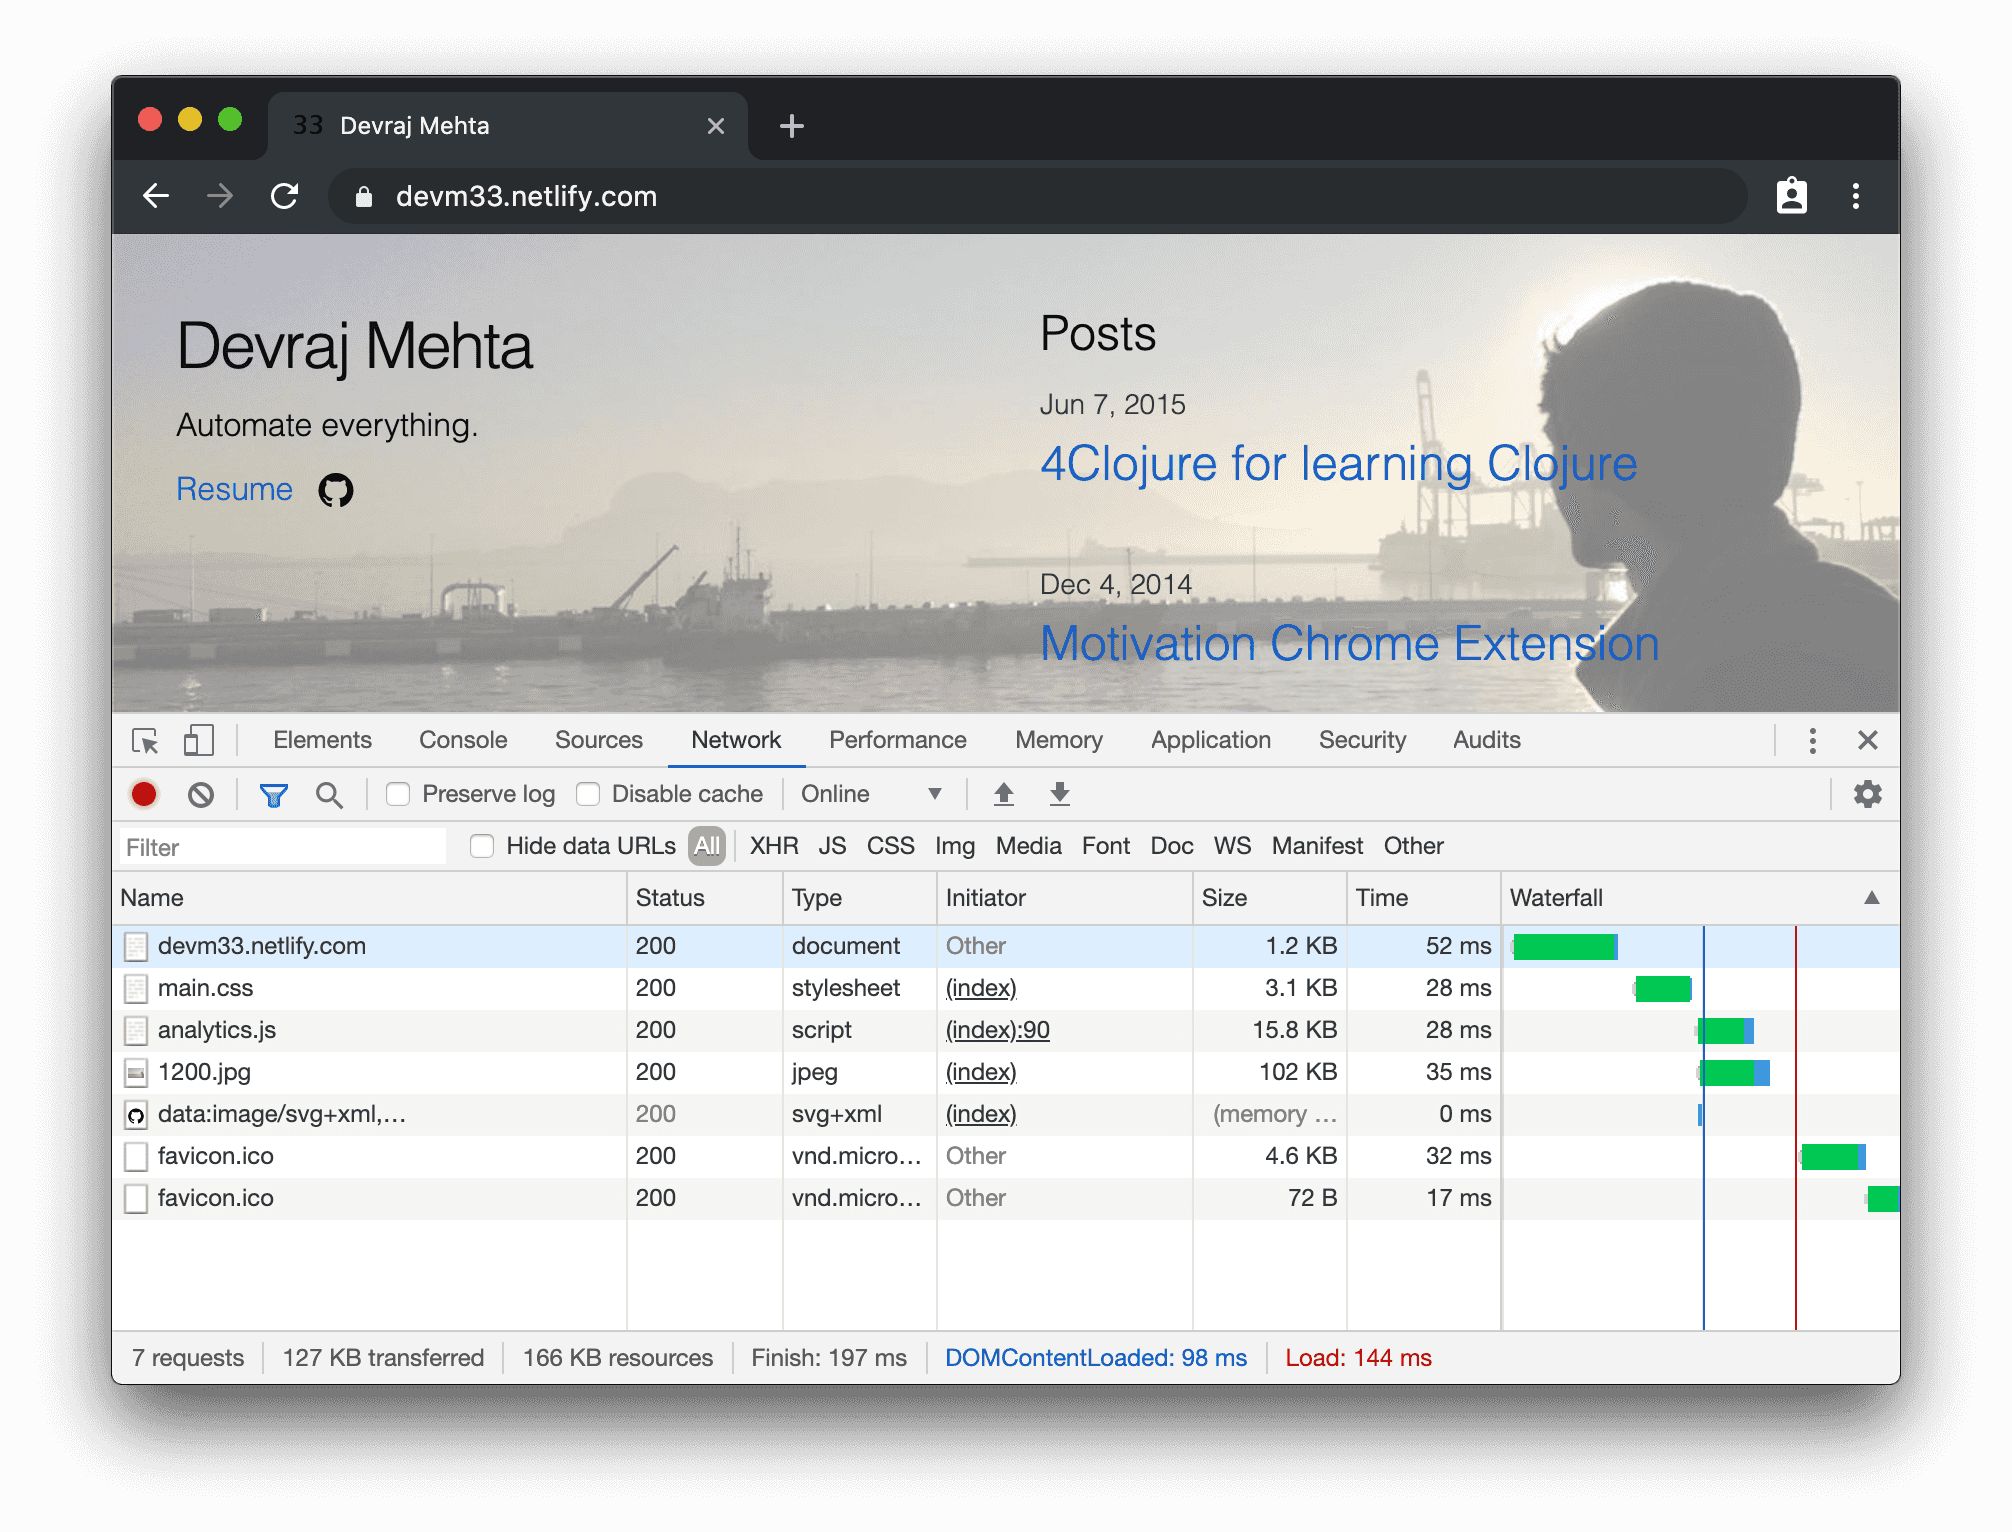
The most important aspect of improving the site's performance is reducing the total network load. I approached this by reducing unnecessary css and html. I also used almost no javascript on the site. With a minimalist approach and the help of Netlify CDN services (Cloudfront) I was able to reduce the total bandwidth required to under 130KB and get all significant load times to under 500ms - except in case where the initial connection to Netlify could take up to a second.